
In the last post we checked what Lua is and what features it contains. In this one let’s try to configure our environment.
I’ll try to setup up both macOS and Windows as I use them interchangeably. On macOS I would like to use it from Sublime Text and/or Visual Studio Code. On Windows – the same tools but I’ll check also an option to use Lua from the full Visual Studio 2015.
macOS
In this post I’ll focus only on the macOS – next time we will do the same on Windows.
Lua can be downloaded from https://www.lua.org/download.html. We could build it from the sources or get the already pre-built binary. We will go for the second option. On Rudix page we get the .dpg package for our distribution.
Next we go through a standard installer
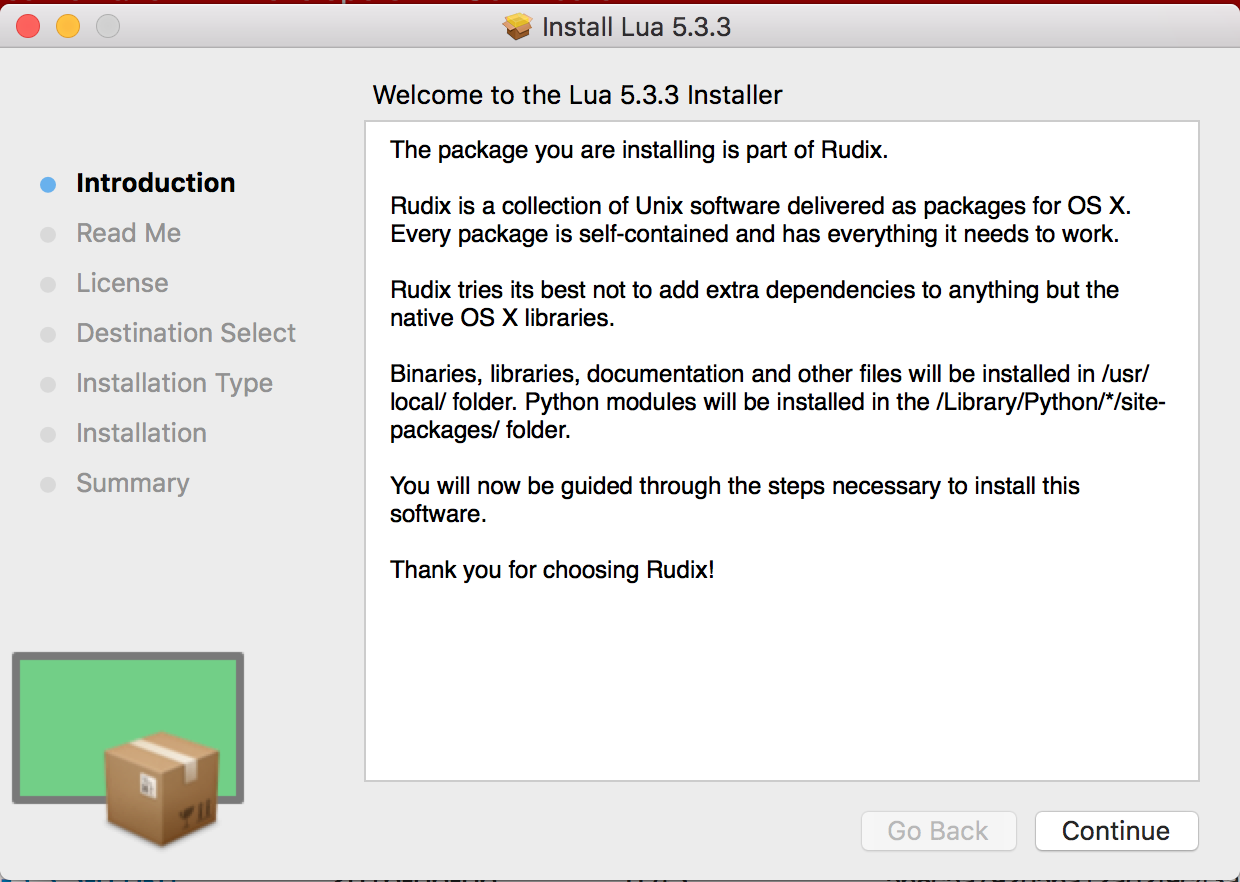
It is just simple ‘click Continue` type of the installer so we do it few times, and of course reading the License document.
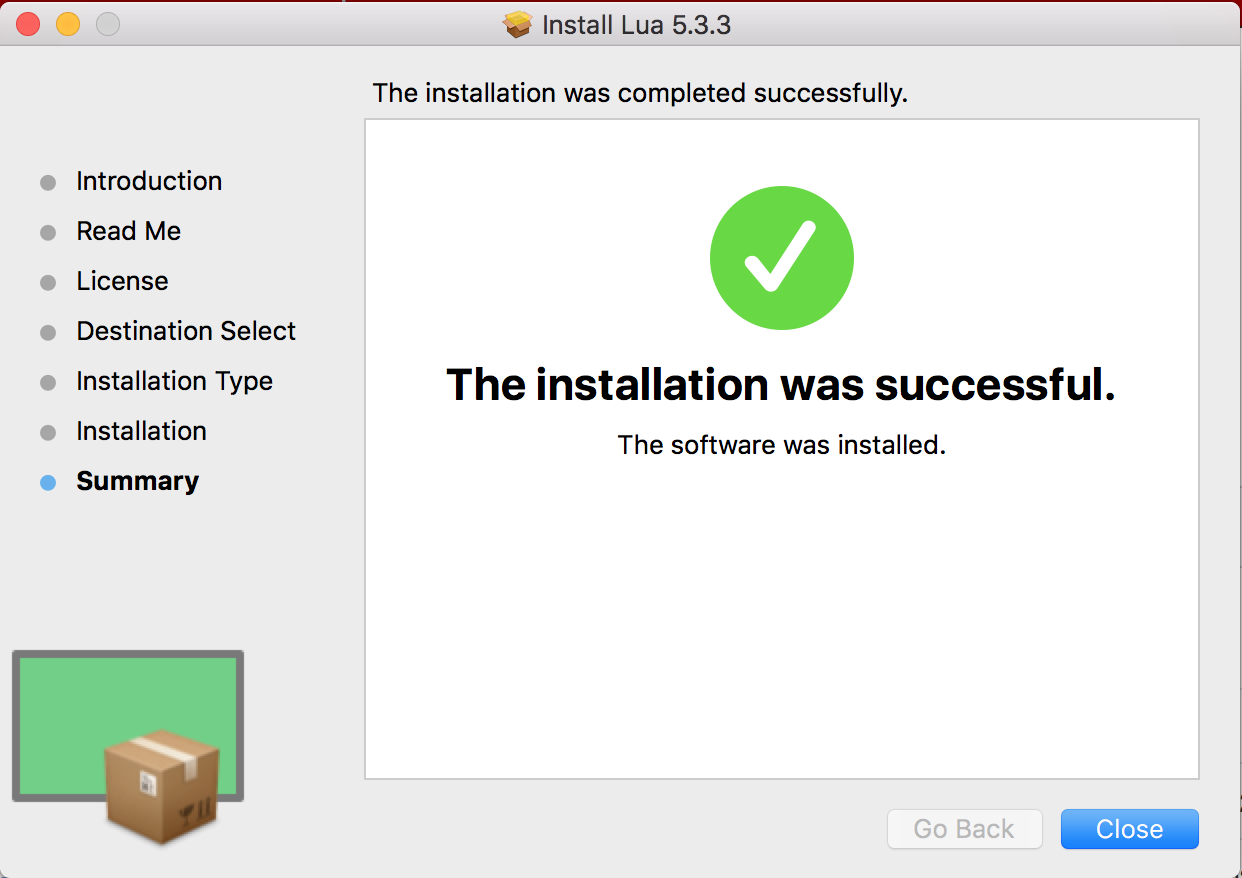
and just like that we can start using Lua.
Setting up sublime text is also easy as it is available by default.
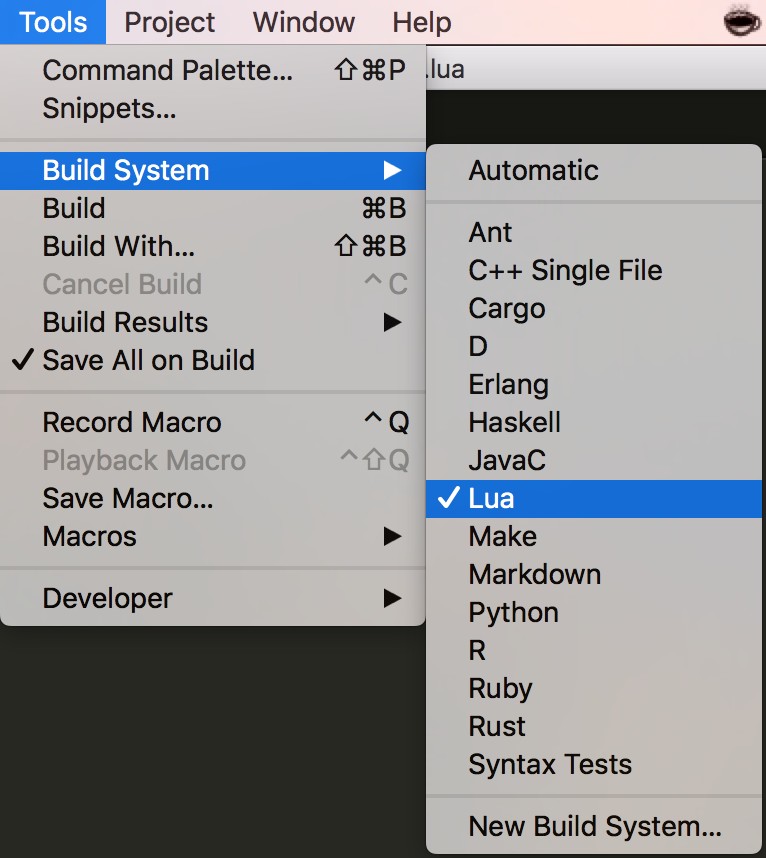
So just run cmd+B to run your script. If you get “[Errno 2] No such file or directory: ‘lua'” then install SublimeFixMacPath as suggested in this StackOverflow answer.
For Visual Studio Code we need to install an extension.
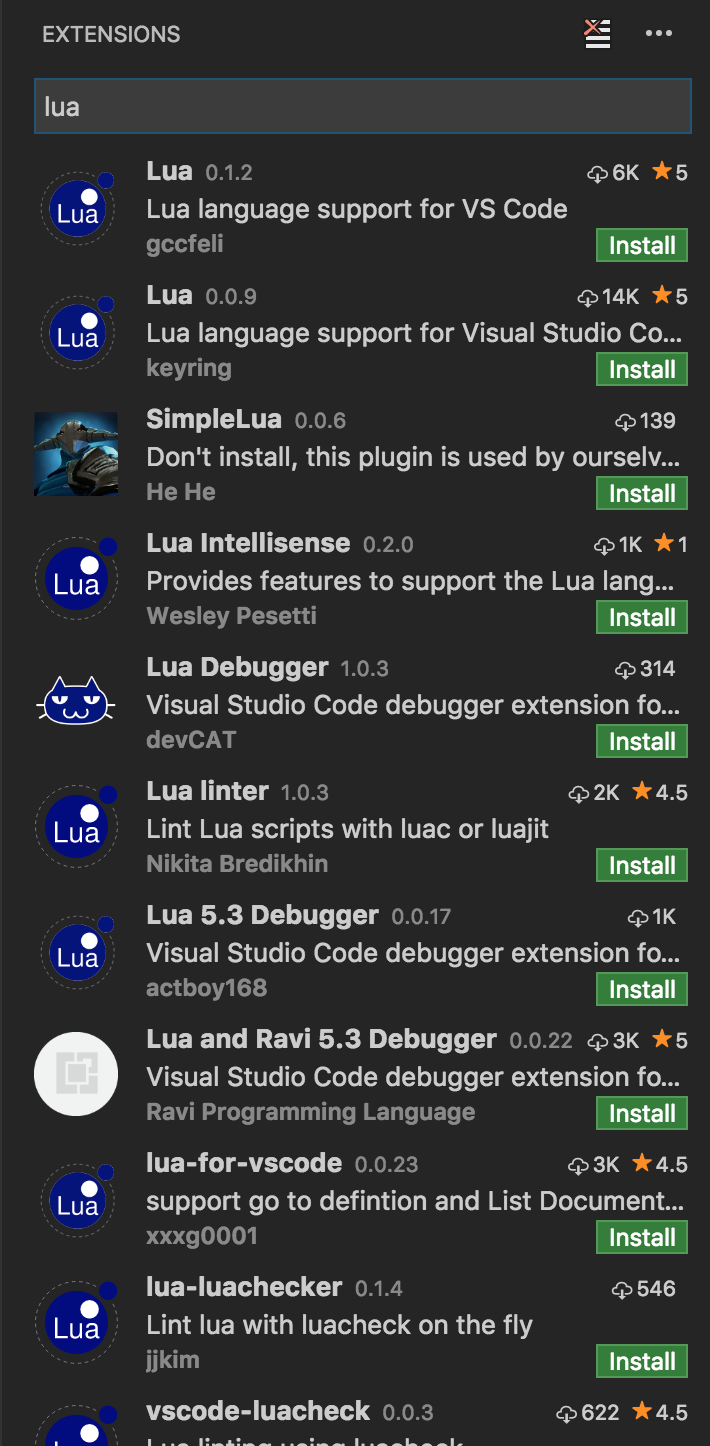
There’s more than enough. We can’t complain. Let’s install the 0.1.2 version. But in order to run in we need to configure a Task runner. Our is very simple; just run the lua command with ${file} argument that will be substituted with currently opened file
| { | |
| // See https://go.microsoft.com/fwlink/?LinkId=733558 | |
| // for the documentation about the tasks.json format | |
| "version": "0.1.0", | |
| "command": "lua", | |
| "isShellCommand": true, | |
| "args": ["${file}"], | |
| "showOutput": "always" | |
| } |
 by
by Having the task runner configured we are good to go and we are all set for starting to develop some Lua code on macOS. Next time we will see how it is on Windows. Till next time.
Founder of Octal Solutions a .NET software house.
Passionate dev, blogger, occasionally speaker, one of the leaders of Wroc.NET user group. Microsoft MVP. Podcaster – Ostrapila.pl